Valley's Aberrants
Overview
Gameplay Guide
Derangement
Derangement
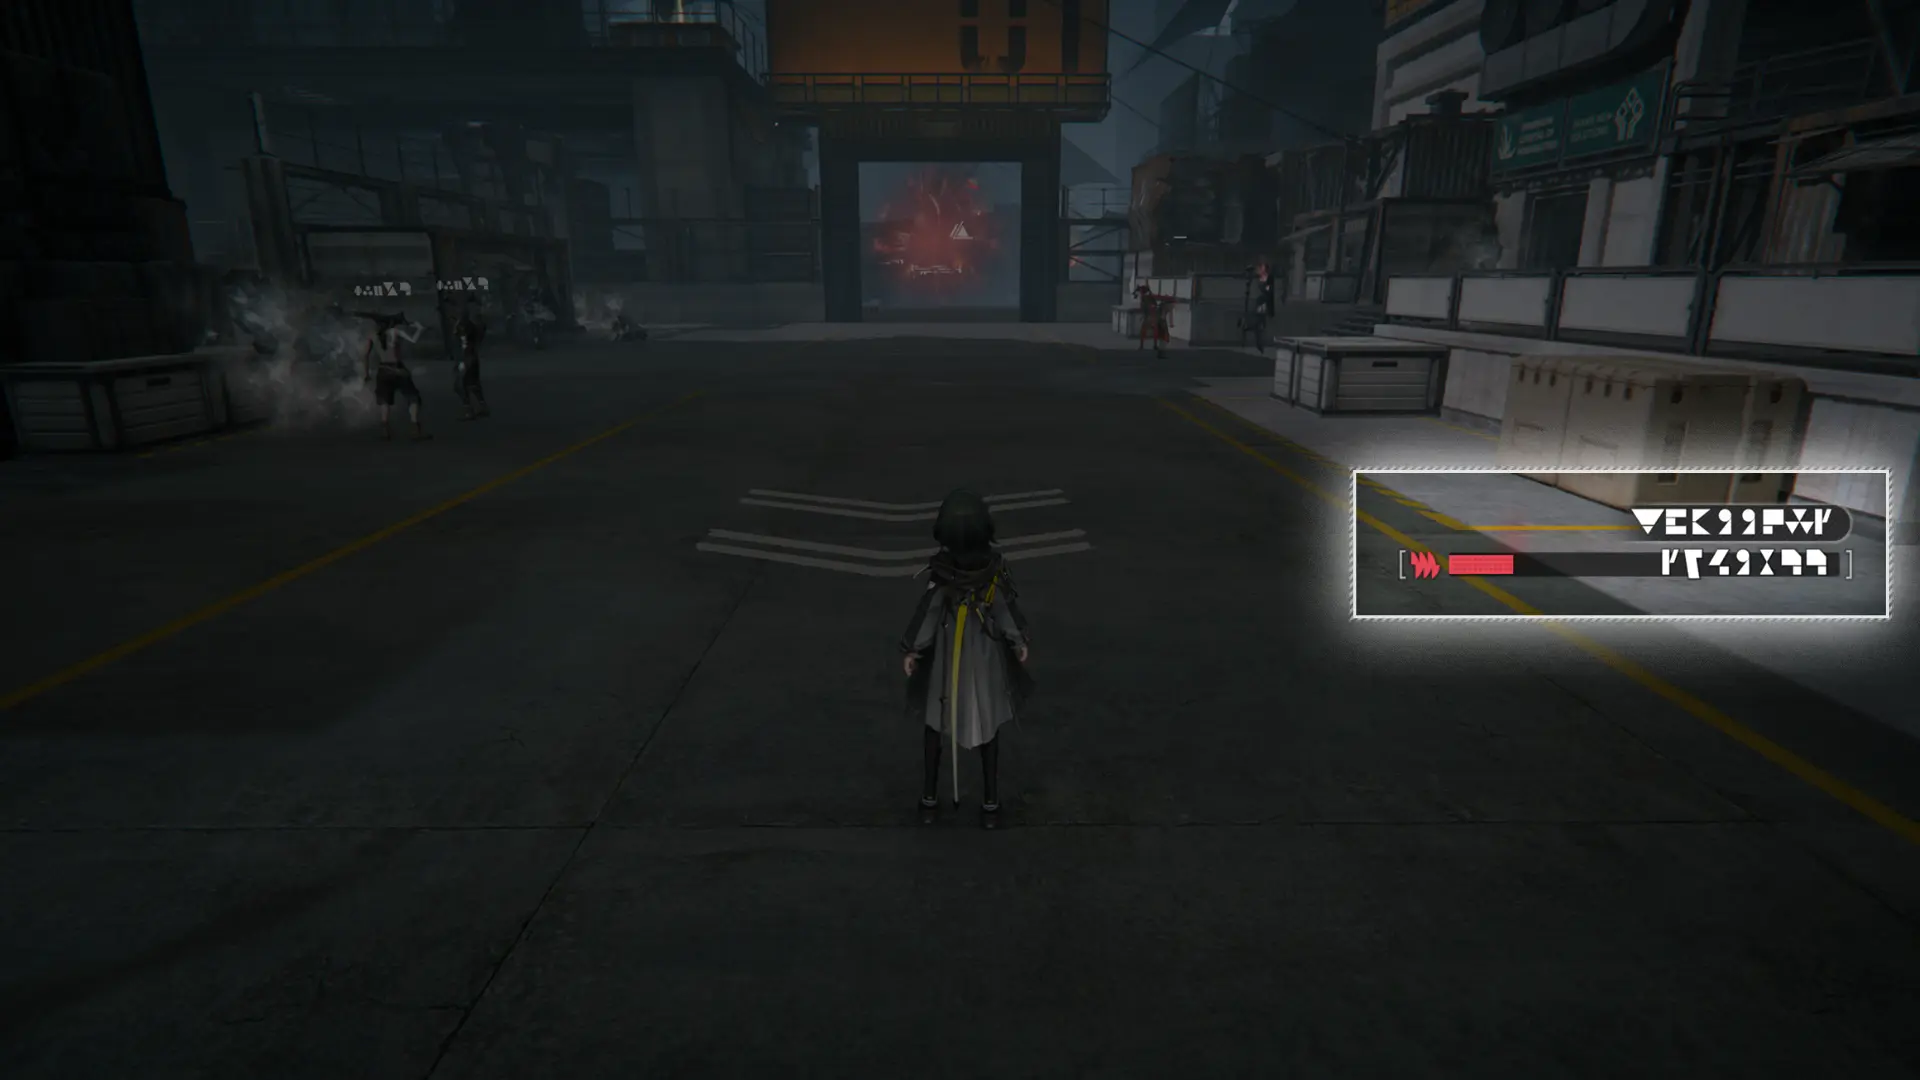
Derangement gradually increases with time while exploring the Valley's Aberrants. Derangement also increases when interacting with Precipitation Crystals cores or entering combat. When the Derangement limit is reached, the team will be forcibly extracted from the Valley's Aberrants and the exploration attempt will be immediately tallied.
Derangement: Safe Zones
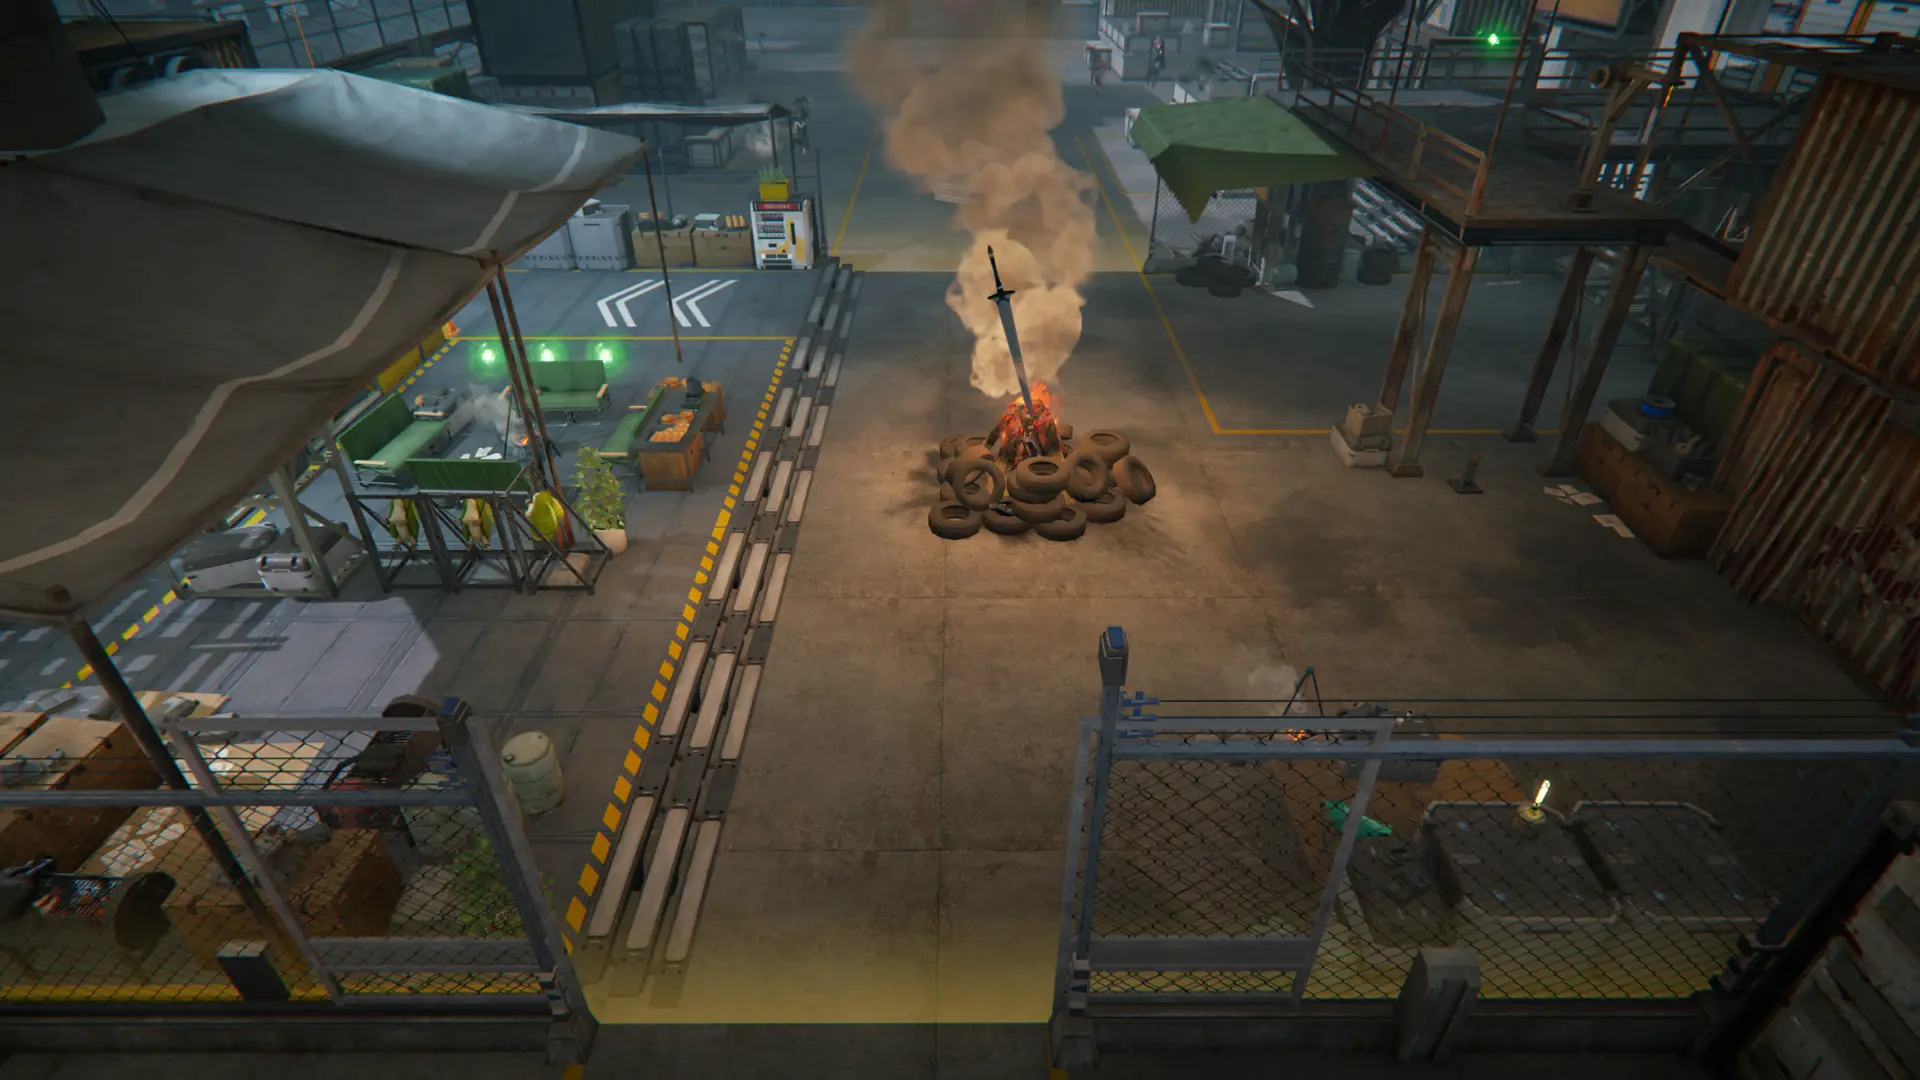
Safe zones can be found in Valley's Aberrants. They can be identified with their yellow lighting effects. Derangement will stop increasing when staying in a safe zone.
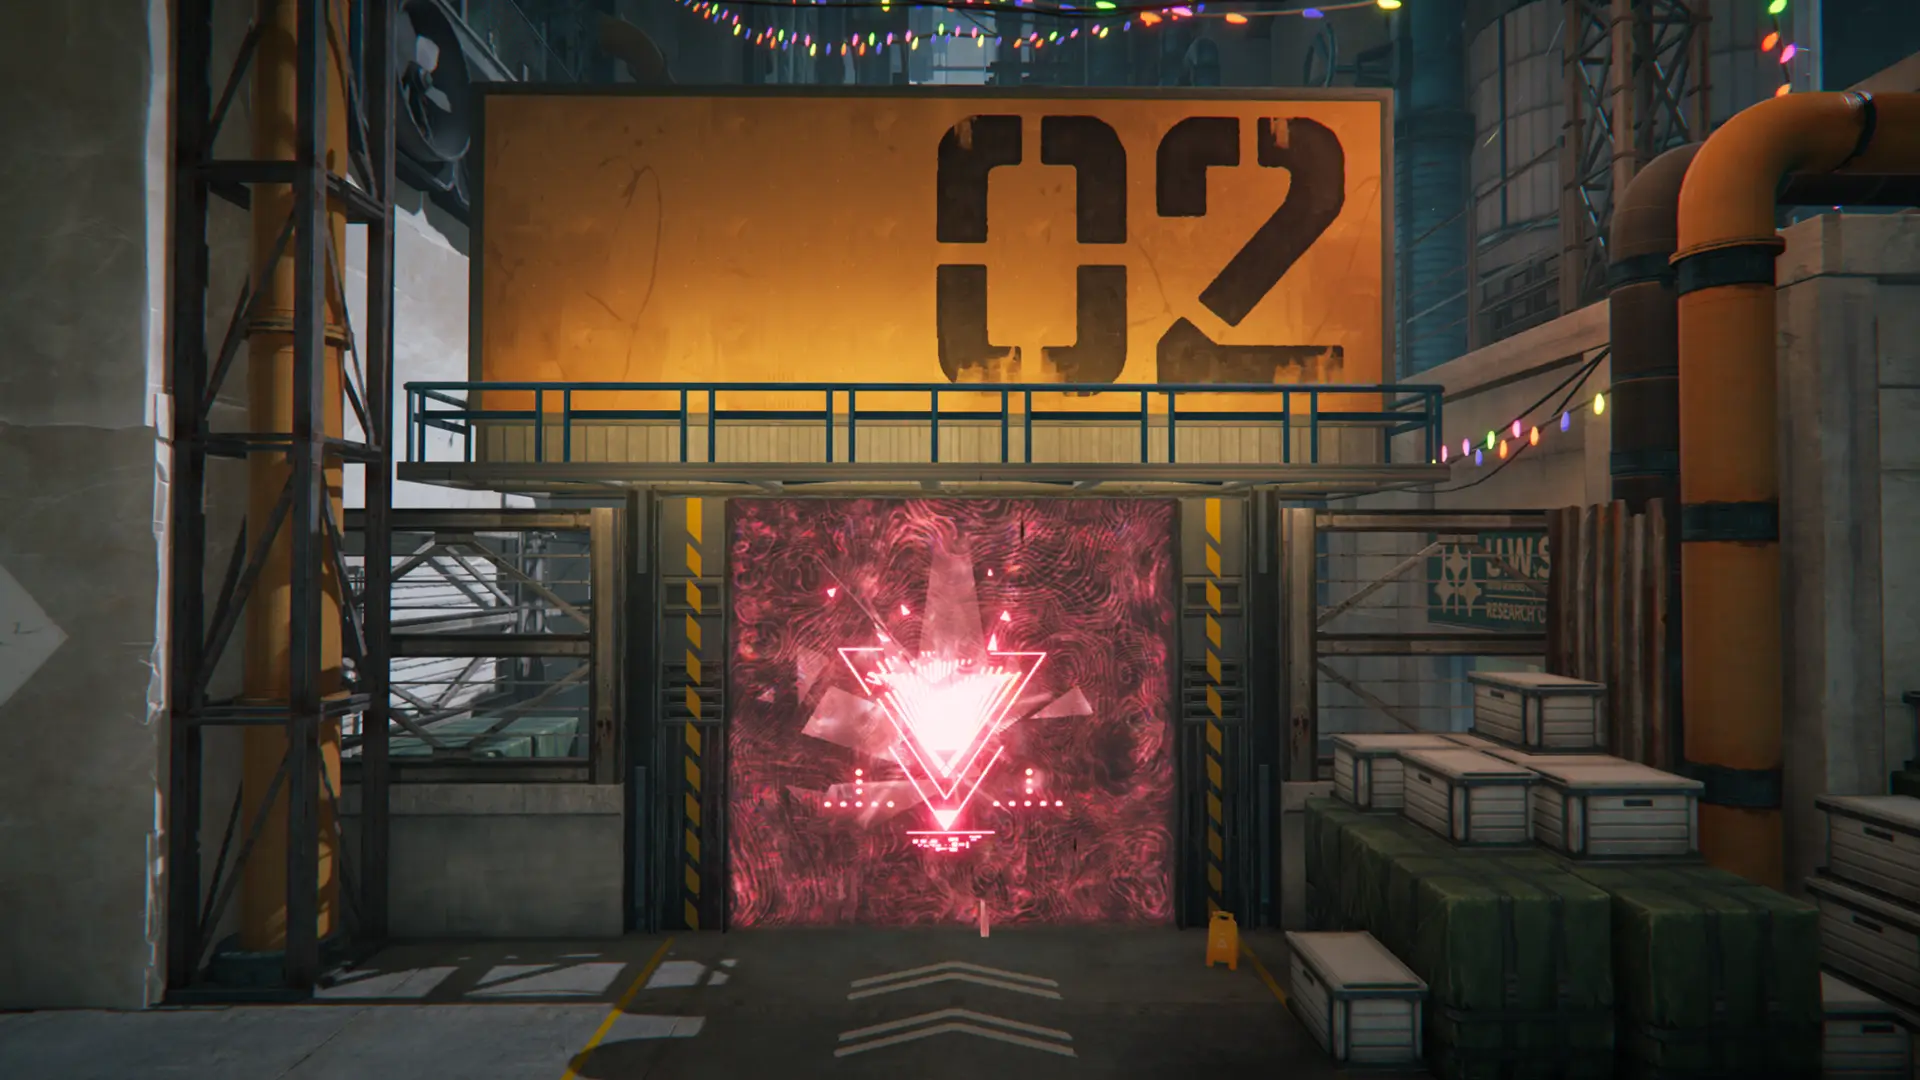
Derangement: Different Areas
Valley's Aberrants comprise multiple areas. Derangement increases at different rates in different areas. Derangement tends to increase faster when exploring latter areas.
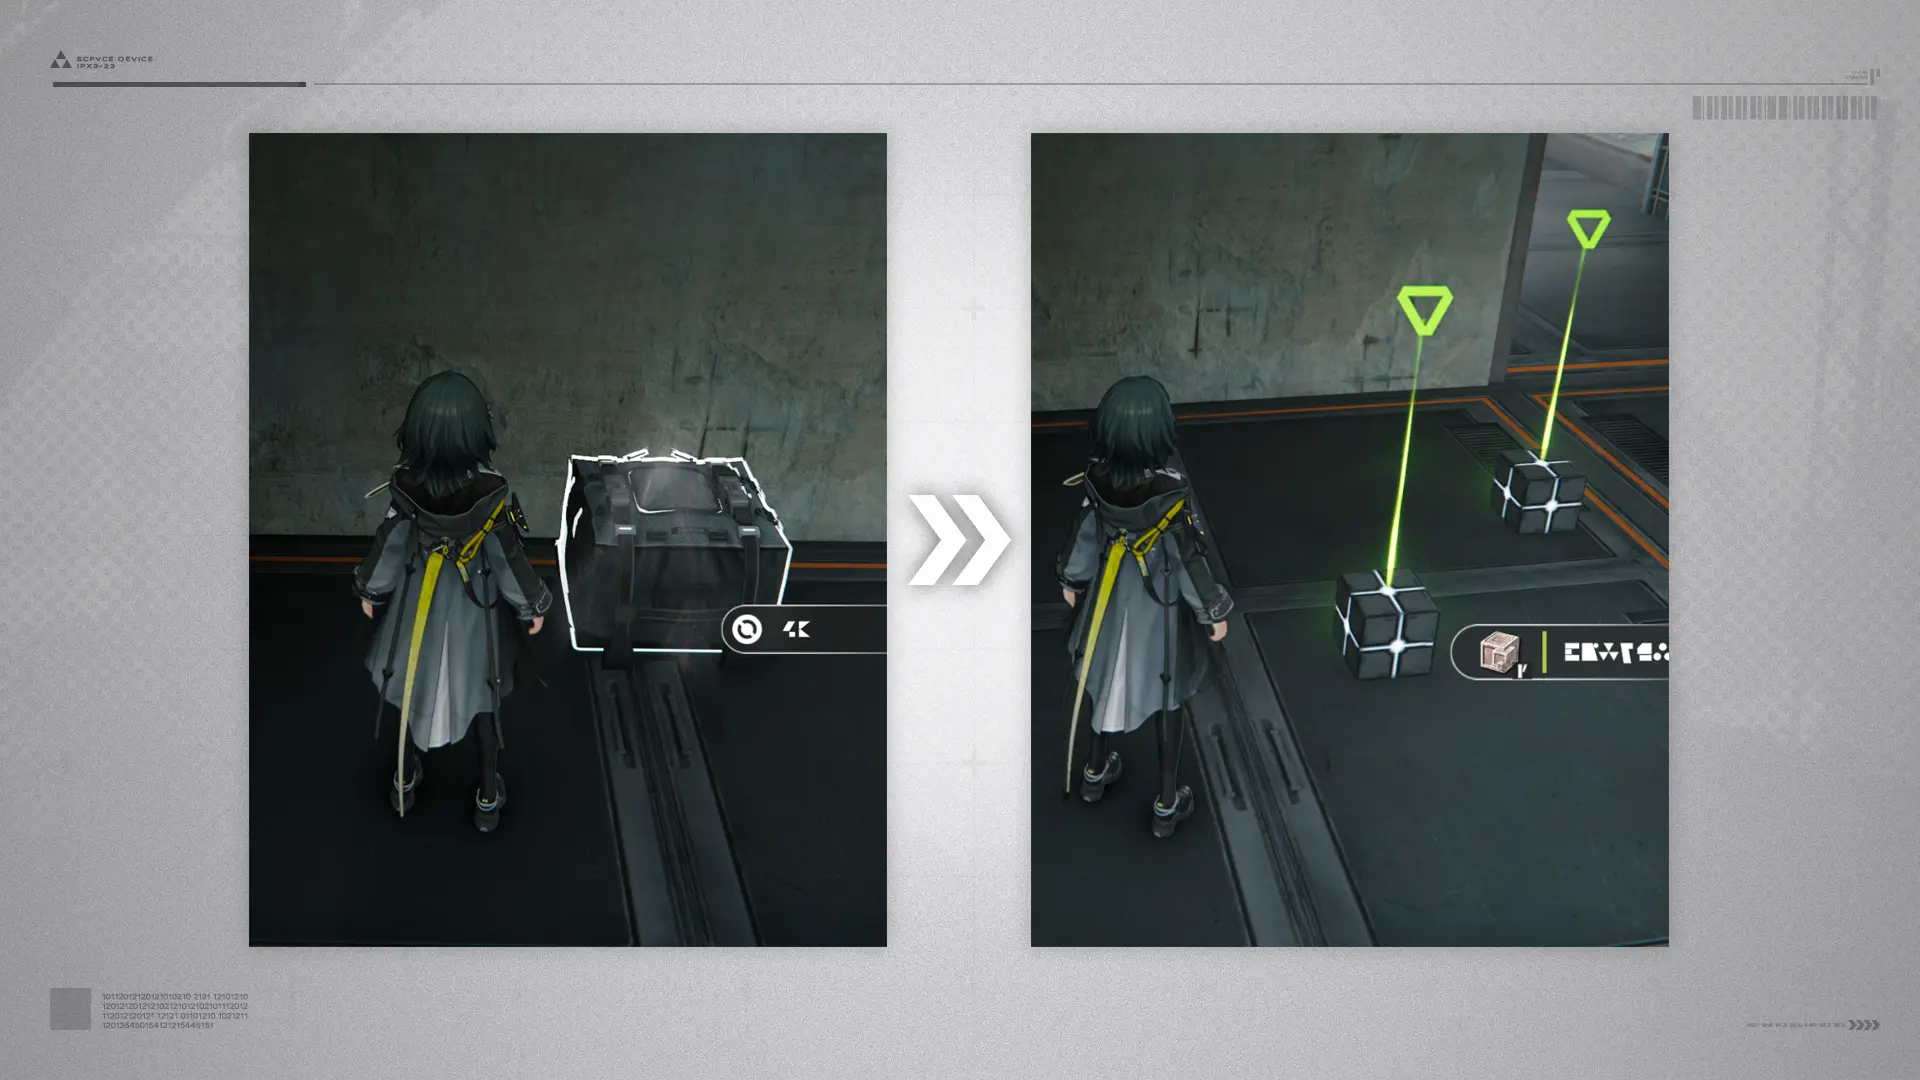
Precipitation Crystal
Precipitation Crystal
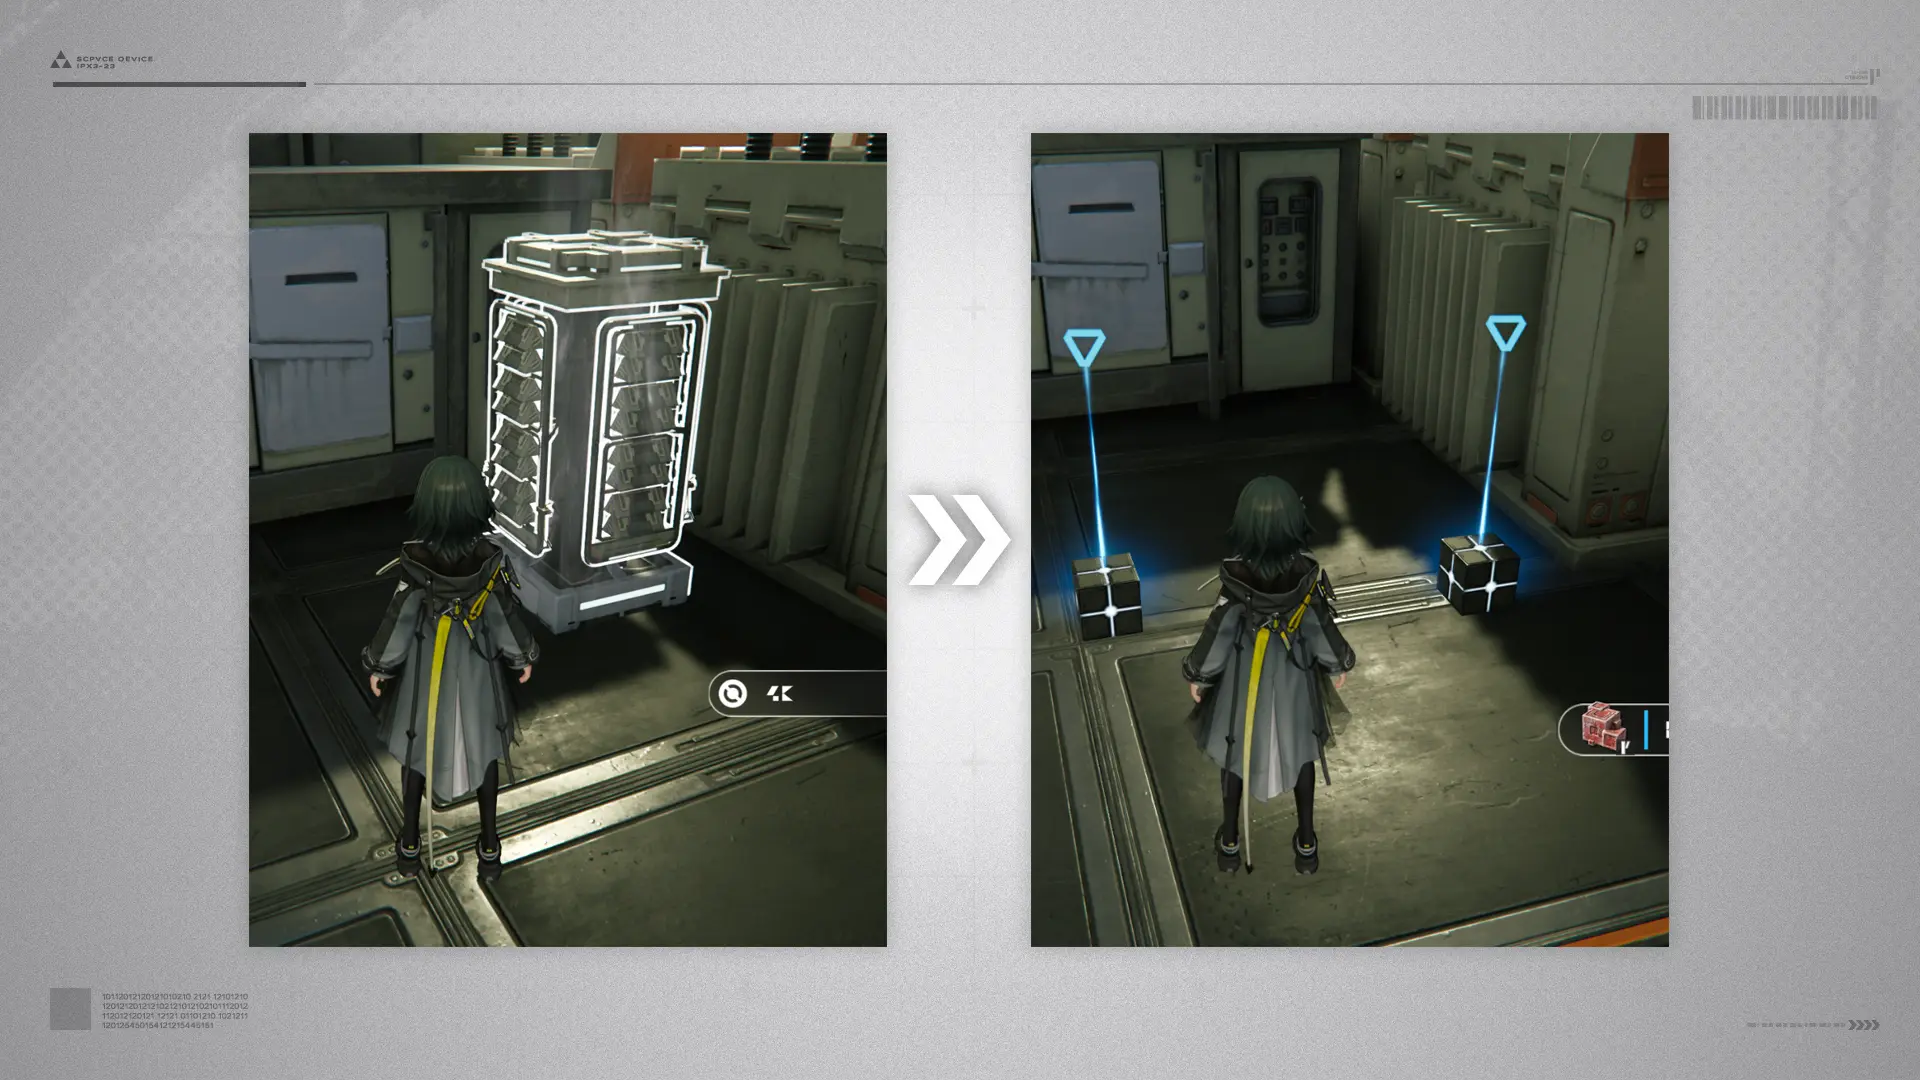
Many Precipitation Crystals exist in Valley's Aberrants. Smash the crystal to expose its core and interact with it to get precipitation nodules.
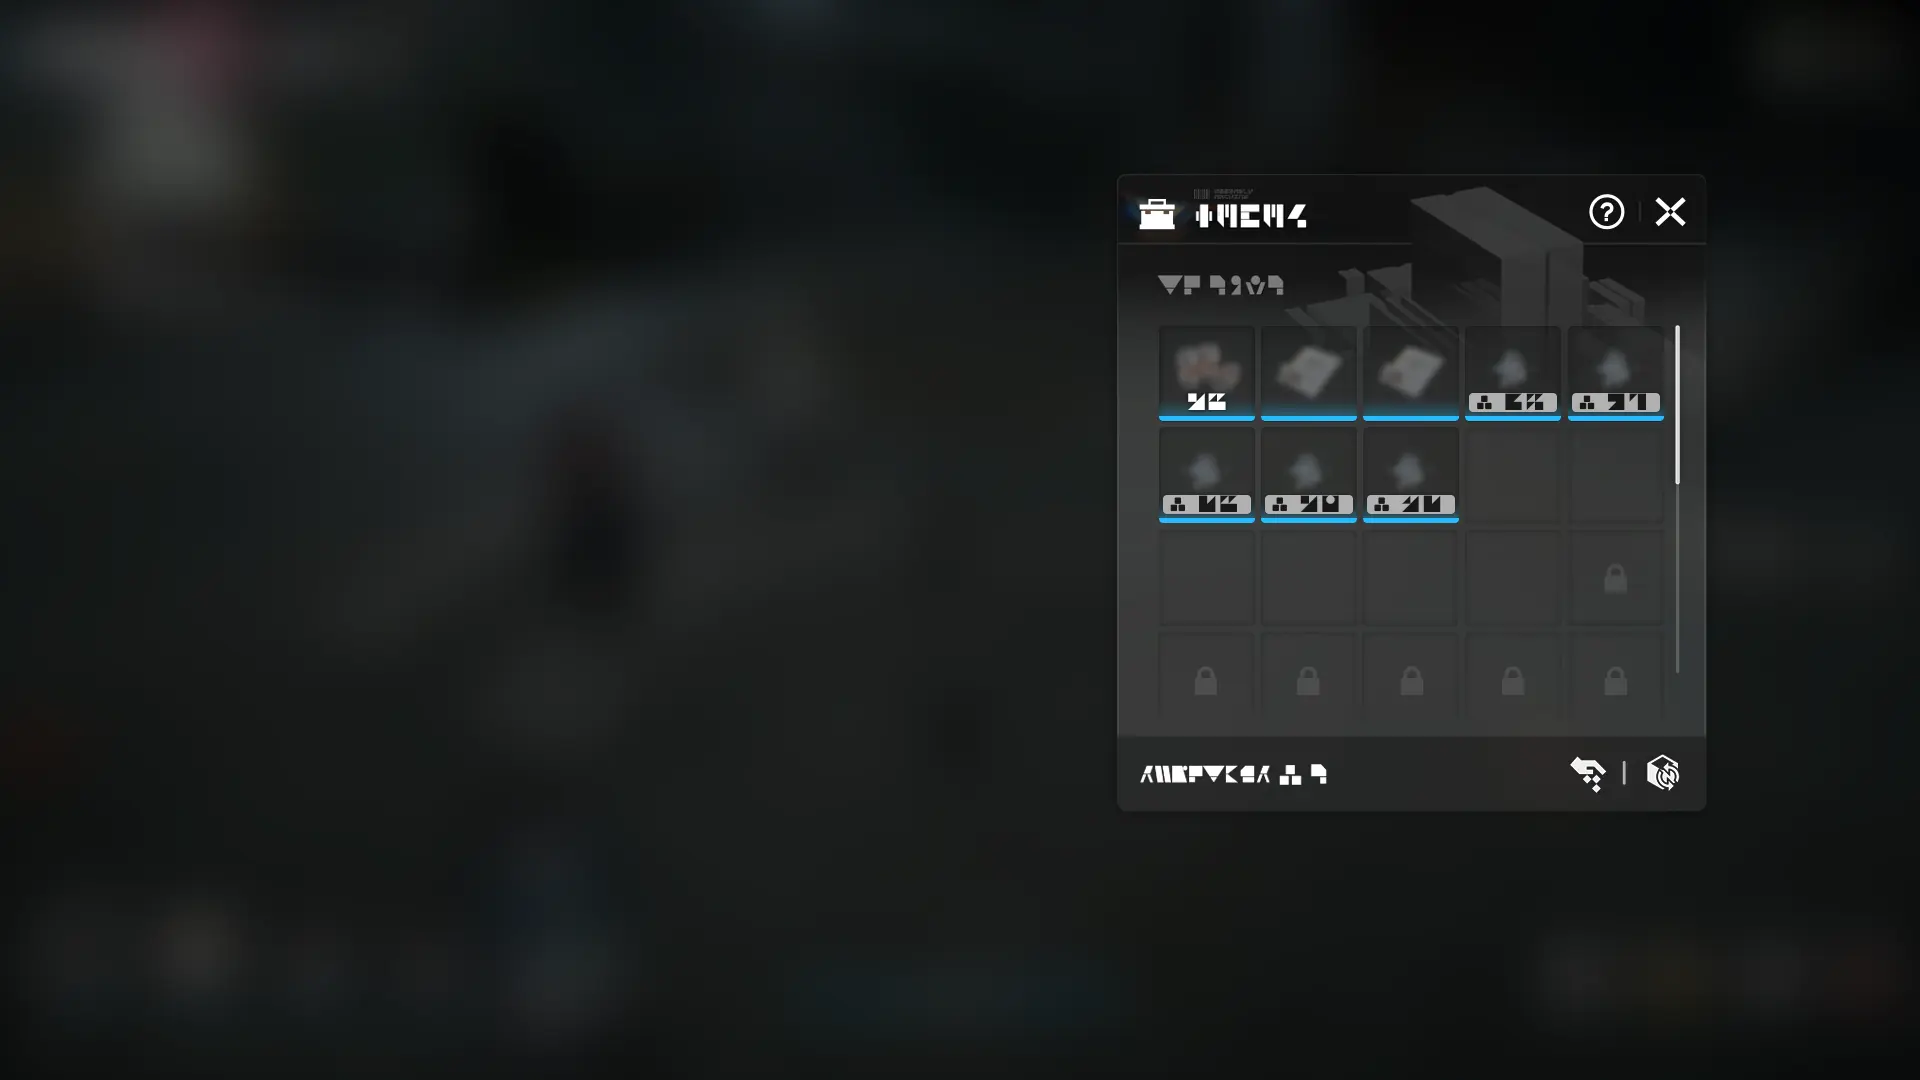
Isolation Container
Precipitation nodules found during exploration are stored in the Isolation Container. The Isolation Container has a limited capacity and cannot hold more precipitation nodules when full.
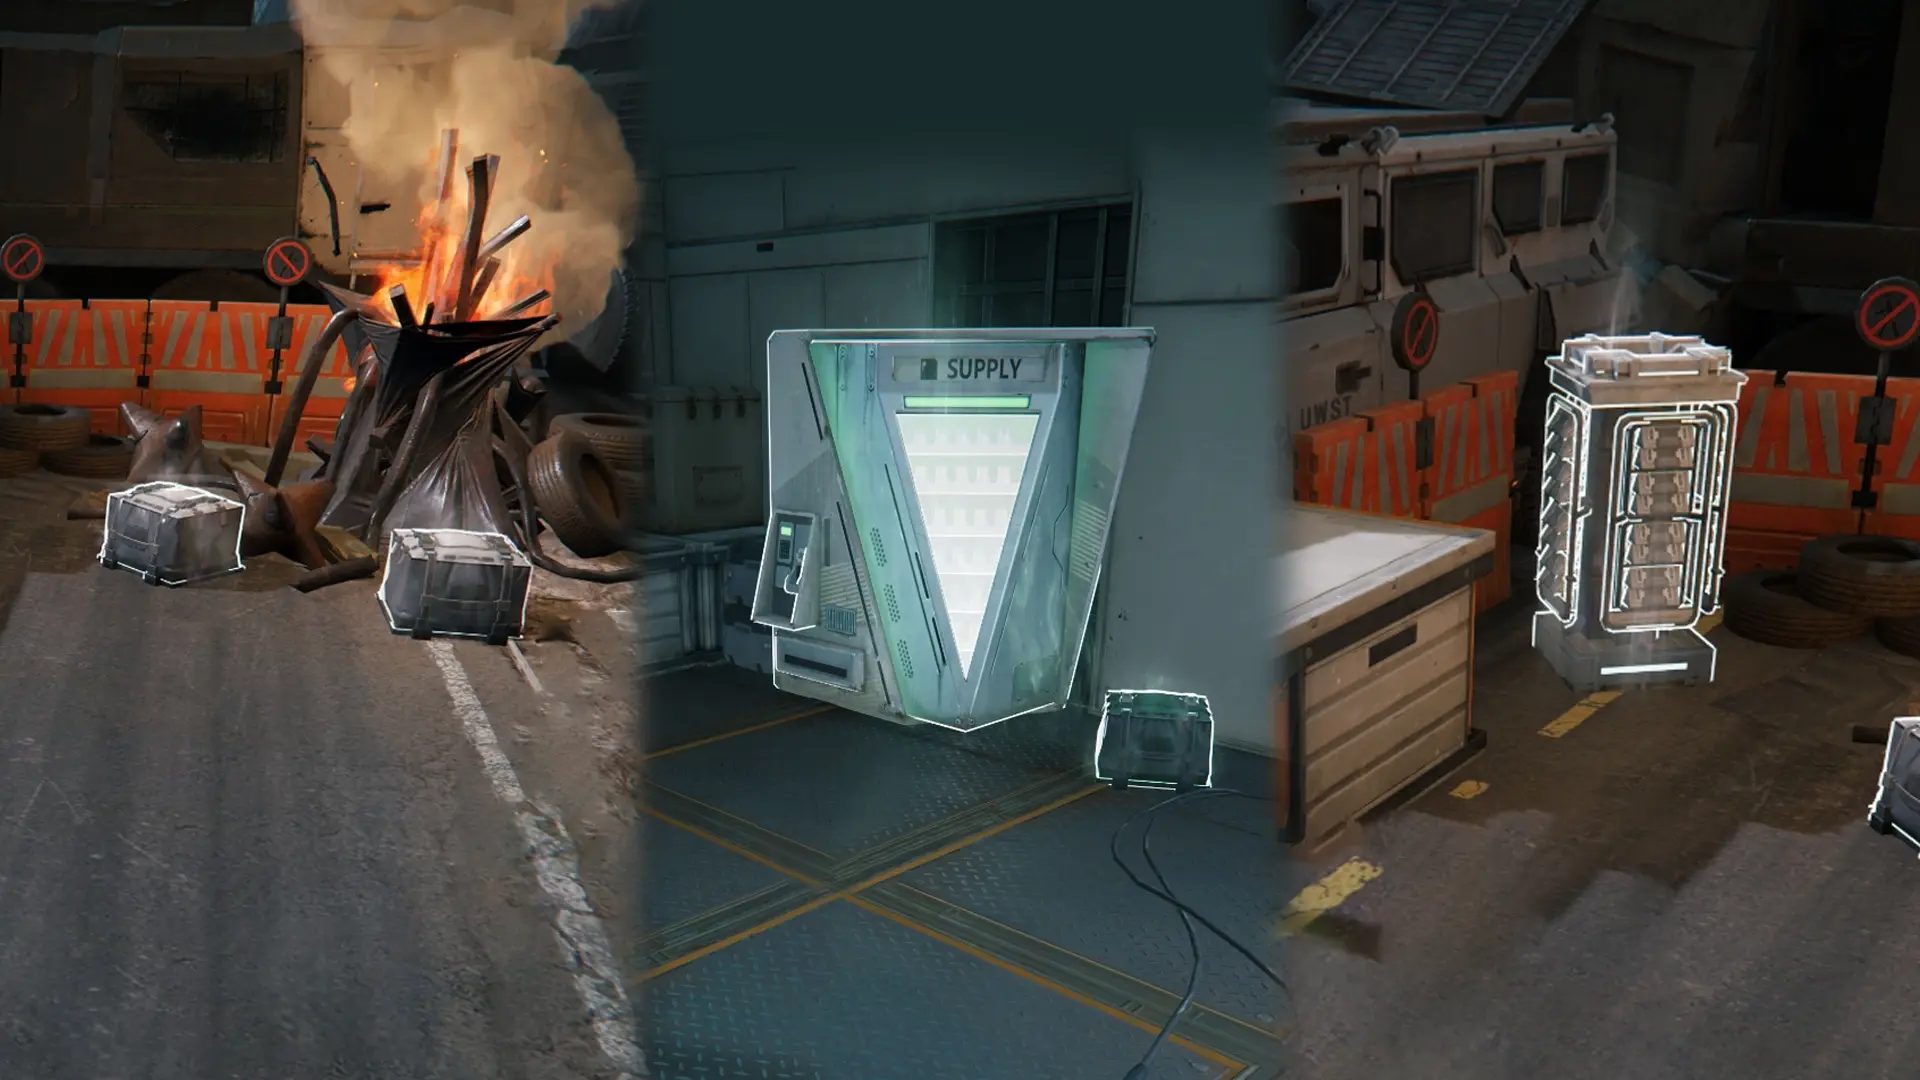
Storage Point
Storage Point
The Valley's Aberrants have many storage points. Interact with them to acquire Precipitation Manifests but this will also increase Derangement.
Precipitation Manifest
Precipitation manifests are also stored in the Isolation Container. Precipitation manifests successfully brought from exploration attempts can be used for research and improve various abilities in the Valley's Aberrants.
Aberrants: Commissions
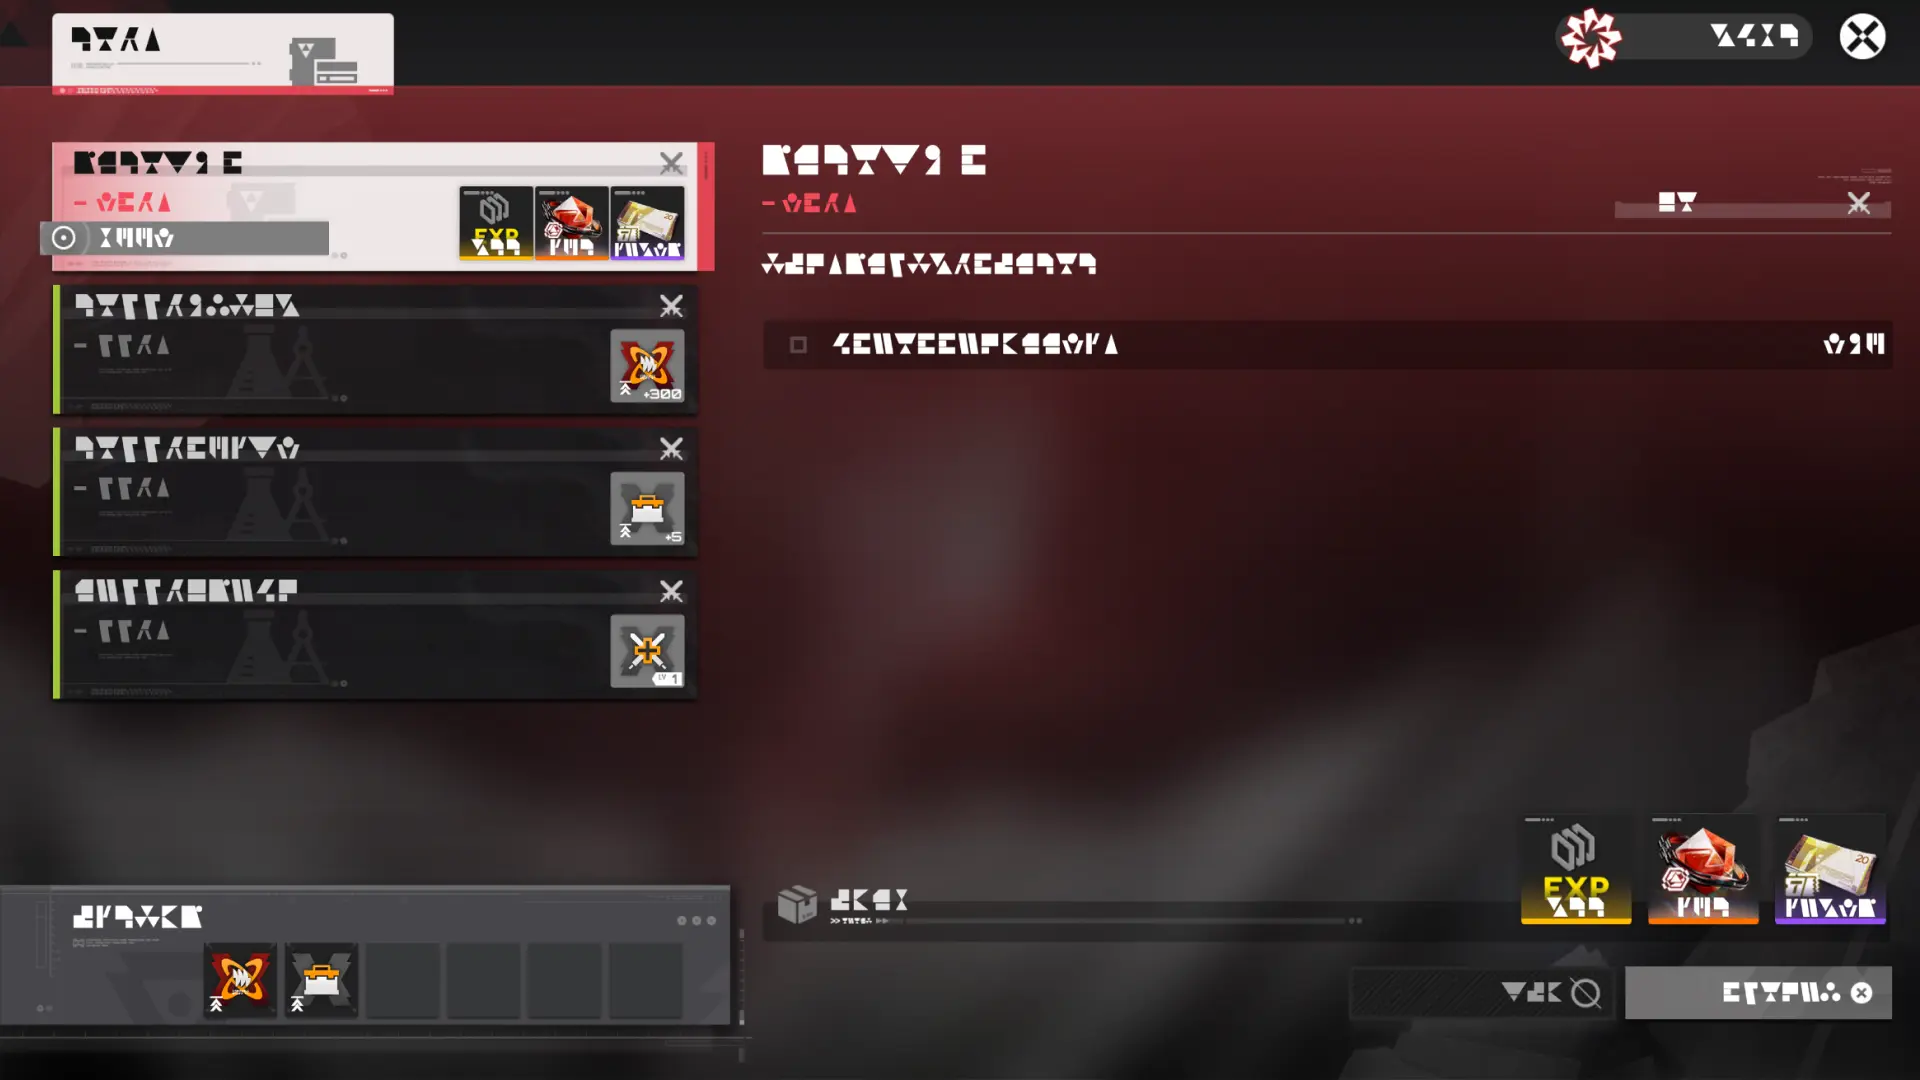
Aberrants: Commissions
Go to the Commissions and Exploration Support Tech to accept and complete various Etchspace Salvage commissions.
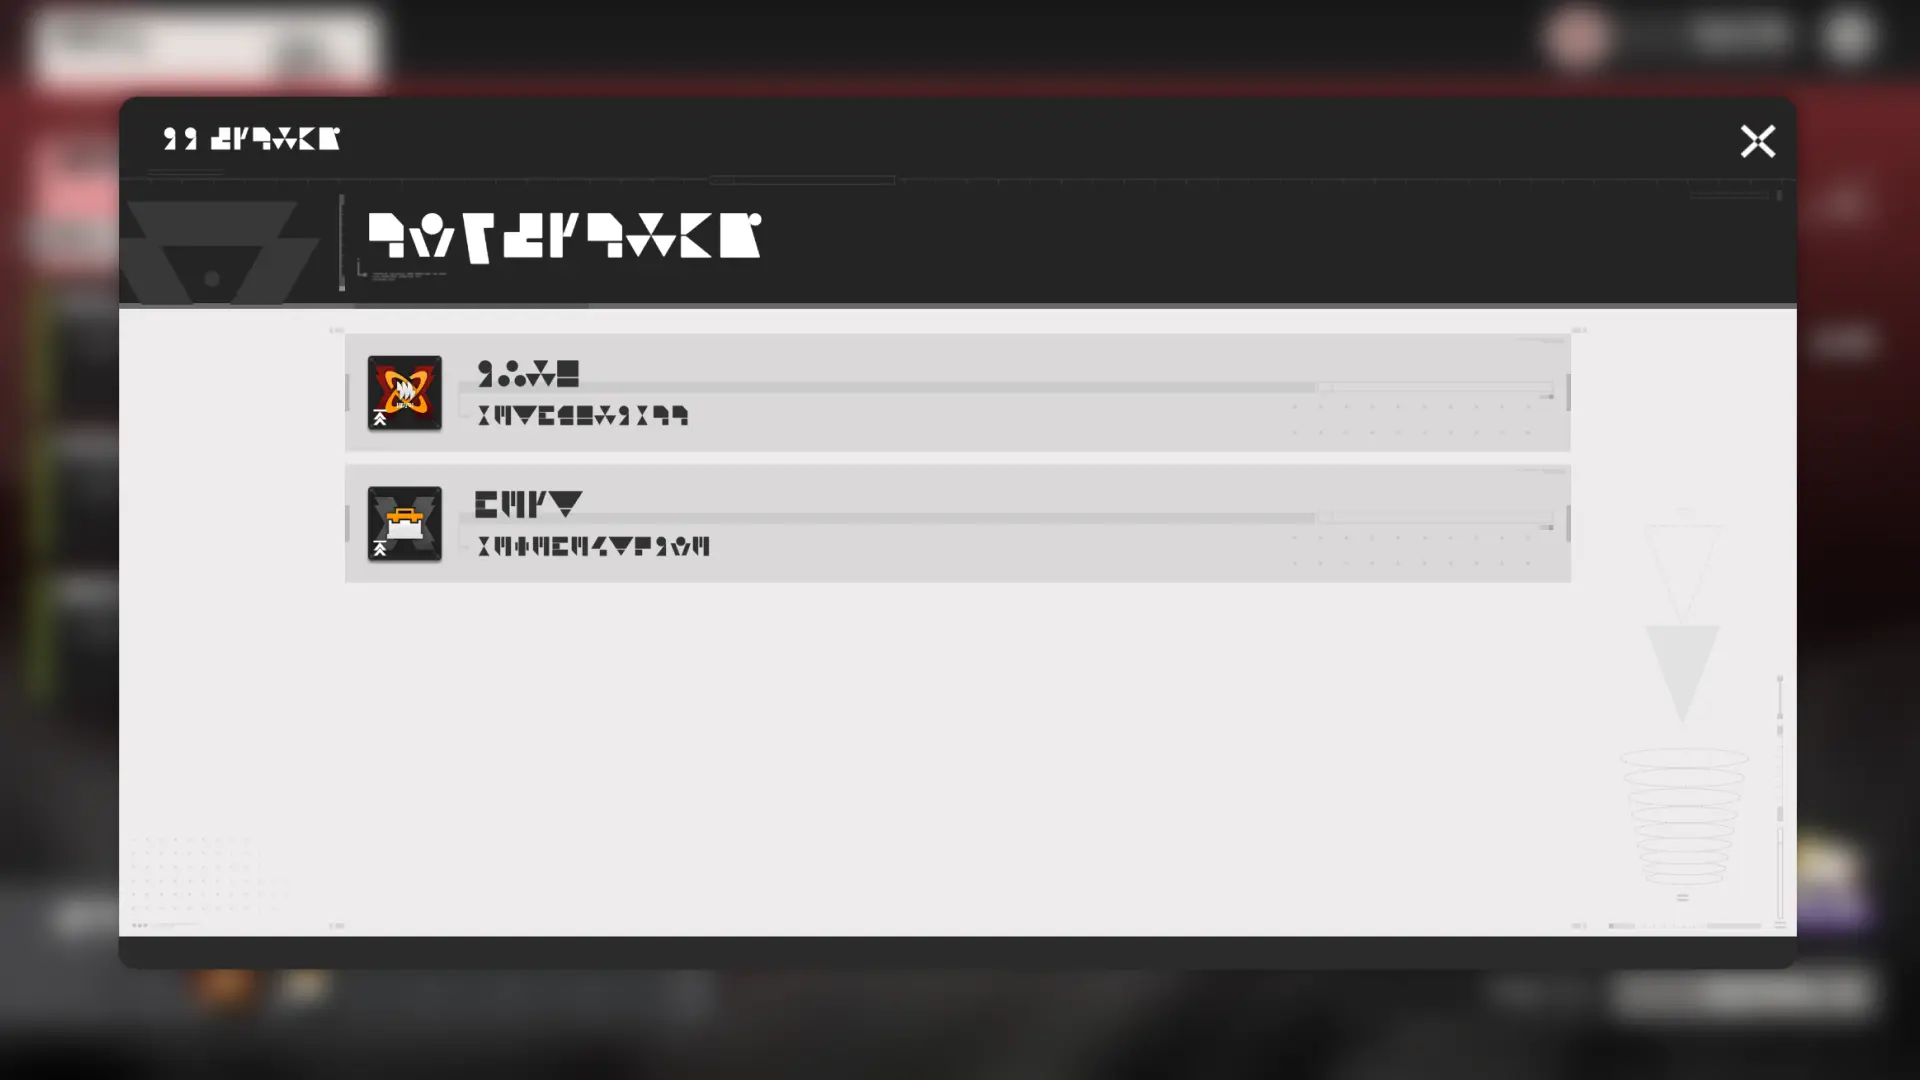
Exploration Support Tech
Complete commissions to unlock specified Exploration Support Tech that can offer various useful buffs for exploring the Valley's Aberrants.
Package
Open packages to acquire various classified documents.
Instrument Safe
Open instrument safes to acquire various statuettes.
Large Bounce Device
Use large bounce devices to perform super jumps and reach heights that could not be attained by normal jumping. Simply stand on the bounce device and press the jump button to use it.
Explosive Storage Barrel
Highly flammable and explosive materials are stored in these barrels. When detonated by explosives, the explosion can set off similar barrels nearby, damage enemies, and even take out destructible objects nearby.
Support Tech & Commissions
Derangement Limit
Isolation Container Capacity
Ability to tolerate Derangement
Explosives Carried
Conversion Efficiency
Operation Metrics Limit
Combat Buffs
In Valley's Aberrants, defeating a common/elite enemy restores 4%/20% Max HP to the operator with the lowest health in the team.
Combat R&D: Fragmented TreatmentIn Valley's Aberrants, defeating an enemy restores 100 Skill Points (SP).
Combat R&D: Tactical TempoIn Valley's Aberrants, operators Max HP +30%.
Combat R&D: Armor GildingIn Valley's Aberrants, whenever the team enters battle, the first skill cast deals DMG +200%.
Combat R&D: Charge BurstIn Valley's Aberrants, defeating an enemy grants every teammate 20% Ultimate Energy.
In Valley's Aberrants, SP Recovery Rate +50%.
Key Commission 4
Research Commission 22
Complete this to increase Derangement limit.
 Aurylene Crystal ×100
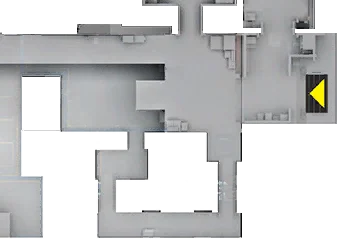
Complete this to increase Derangement limit.
Aurylene Crystal ×200  Classified: Aggelos Rotreed ×6
  Specimen: Bread ×2
  Classified: Meat-Packing Plant ×2
 Complete this to increase Derangement limit.
Aurylene Crystal ×400 Specimen: Bread ×6 Classified: Meat-Packing Plant ×4  Gold Statuette: Tata ×4
Complete this to increase Derangement limit.
Aurylene Crystal ×600  Classified: Aburrey ×6
  Gold Statuette: Chen Qianyu ×3
 Complete this to increase Derangement limit.
Aurylene Crystal ×800 Classified: Aburrey ×8 Gold Statuette: Chen Qianyu ×8  Specimen: Originium Branch ×4
Complete this to increase Derangement limit.
Aurylene Crystal ×800 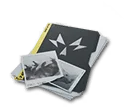 Classified: The Pack ×6
  Gold Statuette: Wulfgard ×3
Complete this to increase Derangement limit.
Aurylene Crystal ×2,000  Classified: Giant Weaponry ×8
  Gold Statuette: Yvonne ×4
 Complete this to increase Derangement limit.
Aurylene Crystal ×3,000 Classified: Giant Weaponry ×16 Gold Statuette: Yvonne ×8 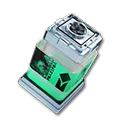 Specimen: Tube Professor ×6
 Complete this to increase Isolation Container capacity.
Aurylene Crystal ×100 Complete this to increase Isolation Container capacity.
Aurylene Crystal ×200  Gold Statuette: Bigfowl ×6 Specimen: Bread ×2 Gold Statuette: Tata ×2
 Complete this to increase Isolation Container capacity.
Aurylene Crystal ×400 Classified: Meat-Packing Plant ×6 Gold Statuette: Tata ×6 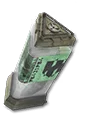 Specimen: Blighted Armorscale ×3
 Complete this to increase Isolation Container capacity.
Aurylene Crystal ×600 Classified: Aburrey ×4 Gold Statuette: Chen Qianyu ×4 Specimen: Originium Branch ×2 Complete this to increase Isolation Container capacity.
Aurylene Crystal ×1,200 Classified: The Pack ×5 Gold Statuette: Wulfgard ×5  Specimen: DELTA Aggelos ×3
 Complete this to increase Isolation Container capacity.
Aurylene Crystal ×2,500 Classified: Giant Weaponry ×8 Gold Statuette: Yvonne ×6 Specimen: Tube Professor ×4 Complete this to raise tolerance to ambient Derangement and slow down the rate of Derangement increase.
Aurylene Crystal ×1,200 Classified: The Pack ×8 Gold Statuette: Wulfgard ×6 Specimen: DELTA Aggelos ×3 Complete this to bring Industrial Explosives into the Valley's Aberrants.
Complete this to bring more Industrial Explosives into the Valley's Aberrants.
Aurylene Crystal ×1,200 Gold Statuette: Wulfgard ×8 Specimen: DELTA Aggelos ×4  Refractorite Fragment ×1
 Complete this to convert precipitation nodules successfully brought out into more Aurylene Crystals.
Aurylene Crystal ×3,000 Specimen: Blighted Armorscale ×10 Specimen: Originium Branch ×10 Specimen: DELTA Aggelos ×10 Complete this to restore HP to the teammate with the lowest health by defeating enemies in the Valley's Aberrants.
Aurylene Crystal ×400 Specimen: Blighted Armorscale ×5 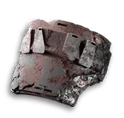 Mask Fragment ×10
  Detonation Unit Fragment ×1
 Complete this to recover SP by defeating enemies in the Valley's Aberrants.
Aurylene Crystal ×800 Specimen: Originium Branch ×6  Rust Fragment ×6
  Amberite Fragment ×1
 Complete this to increase the operators' Max HP in Valley's Aberrants.
Aurylene Crystal ×1,500 Specimen: DELTA Aggelos ×4  Crystal-Embedded Fragment ×6
  Axe Armor Fragment ×1
 Complete this so that the first skill cast after start of every battle deals more DMG in Valley's Aberrants.
Aurylene Crystal ×3,000 Specimen: Tube Professor ×8  Tubular Fragment ×6
  Scorching Hot Bolt Fragment ×1
 Focus Commission 21
Submit the 3 Precipitation Manifests dropped by the white storage points in Aberrant Zone 1. Complete this to earn Operation Metrics.
Classified: Aggelos Rotreed ×8 Gold Statuette: Bigfowl ×6 Specimen: Bread ×5  Operation Metrics ×10,000
 Submit the 3 Precipitation Manifests dropped by the green storage points in Aberrant Zone 1. Complete this to earn Operation Metrics.
Classified: Meat-Packing Plant ×8 Gold Statuette: Tata ×6 Specimen: Blighted Armorscale ×5 Operation Metrics ×10,000 Submit the 3 Precipitation Manifests dropped in Aberrant Zone 2. Complete this to earn Operation Metrics.
Classified: Aburrey ×8 Gold Statuette: Chen Qianyu ×6 Specimen: Originium Branch ×5 Operation Metrics ×10,000 Submit the 3 Precipitation Manifests dropped in Aberrant Zone 3. Complete this to earn Operation Metrics.
Classified: The Pack ×8 Gold Statuette: Wulfgard ×6 Specimen: DELTA Aggelos ×5 Operation Metrics ×10,000 Submit the 3 Precipitation Manifests dropped in Aberrant Zone 4. Complete this to earn Operation Metrics.
Classified: Giant Weaponry ×8 Gold Statuette: Yvonne ×6 Specimen: Tube Professor ×5 Operation Metrics ×10,000 Submit the 2 types of classified documents dropped in Aberrant Zone 1. Complete this to earn Operation Metrics.
Classified: Aggelos Rotreed ×8 Classified: Meat-Packing Plant ×8 Operation Metrics ×10,000 Submit the 2 types of classified documents dropped in Aberrant Zones 2 and 3. Complete this to earn Operation Metrics.
Classified: Aburrey ×8 Classified: The Pack ×8 Operation Metrics ×10,000 Submit the 2 types of gold statuettes dropped in Aberrant Zone 1. Complete this to earn Operation Metrics.
Gold Statuette: Bigfowl ×6 Gold Statuette: Tata ×6 Operation Metrics ×10,000 Submit the 2 types of gold statuettes dropped in Aberrant Zones 2 and 3. Complete this to earn Operation Metrics.
Gold Statuette: Chen Qianyu ×6 Gold Statuette: Wulfgard ×6 Operation Metrics ×10,000 Submit the 2 types of specimen jars dropped in Aberrant Zone 1. Complete this to earn Operation Metrics.
Specimen: Bread ×5 Specimen: Blighted Armorscale ×5 Operation Metrics ×10,000 Submit the 2 types of specimen jars dropped in Aberrant Zones 2 and 3. Complete this to earn Operation Metrics.
Specimen: Originium Branch ×5 Specimen: DELTA Aggelos ×5 Operation Metrics ×10,000 Submit Aurylene Crystals and Aberrant Zone 1 enemy drops. Complete this to earn Operation Metrics.
Aurylene Crystal ×3,000 Mask Fragment ×5 Operation Metrics ×10,000 Submit Aurylene Crystals and Aberrant Zone 2 enemy drops. Complete this to earn Operation Metrics.
Aurylene Crystal ×3,000 Rust Fragment ×5 Operation Metrics ×10,000 Submit Aurylene Crystals and Aberrant Zone 3 enemy drops. Complete this to earn Operation Metrics.
Aurylene Crystal ×3,000 Crystal-Embedded Fragment ×5 Operation Metrics ×10,000 Submit Aurylene Crystals and Aberrant Zone 4 enemy drops. Complete this to earn Operation Metrics.
Aurylene Crystal ×3,000 Tubular Fragment ×5 Operation Metrics ×10,000 Submit Aurylene Crystals and Aberrant Zone 1 boss drops. Complete this to earn Operation Metrics.
Aurylene Crystal ×3,000 Detonation Unit Fragment ×1 Operation Metrics ×10,000 Submit Aurylene Crystals and Aberrant Zone 2 boss drops. Complete this to earn Operation Metrics.
Aurylene Crystal ×3,000 Amberite Fragment ×1 Operation Metrics ×10,000 Submit Aurylene Crystals and Aberrant Zone 3 boss drops. Complete this to earn Operation Metrics.
Aurylene Crystal ×3,000 Axe Armor Fragment ×1 Operation Metrics ×10,000 Submit Aurylene Crystals and Aberrant Zone 3 boss drops. Complete this to earn Operation Metrics.
Aurylene Crystal ×3,000 Refractorite Fragment ×1 Operation Metrics ×10,000 Submit Aurylene Crystals and Aberrant Zone 4 boss drops. Complete this to earn Operation Metrics.
Aurylene Crystal ×3,000 Scorching Hot Bolt Fragment ×1 Operation Metrics ×10,000 Submit Aurylene Crystals. Complete this to earn Operation Metrics.
Aurylene Crystal ×6,000 Operation Metrics ×10,000 Operation Metrics
| Score | Rewards |
|---|---|
| 50 | |
| 300 | |
| 1,200 | |
| 2,500 | |
| 5,000 | |
| 10,000 | |
| 20,000 | |
| 30,000 | |
| 40,000 | |
| 50,000 | |
| 60,000 | |
| 70,000 | |
| 80,000 | |
| 90,000 | |
| 100,000 | |
Refresh Cost
Focus Commission refresh cost (Aurylene Crystals). Resets weekly.
| Times | 1 | 2 | 3 | 4 | 5 | 6 | 7 | 8 | 9 |
|---|---|---|---|---|---|---|---|---|---|
| | Free | 500 | 1,000 | 2,000 | 3,000 | 4,000 | 5,000 | 5,000 | 5,000 |